How to Manage Your PlanMate Profile and Account Settings
Make your PlanMate profile useful without oversharing, and understand appearance, notifications, verification, blocking and account deletion.
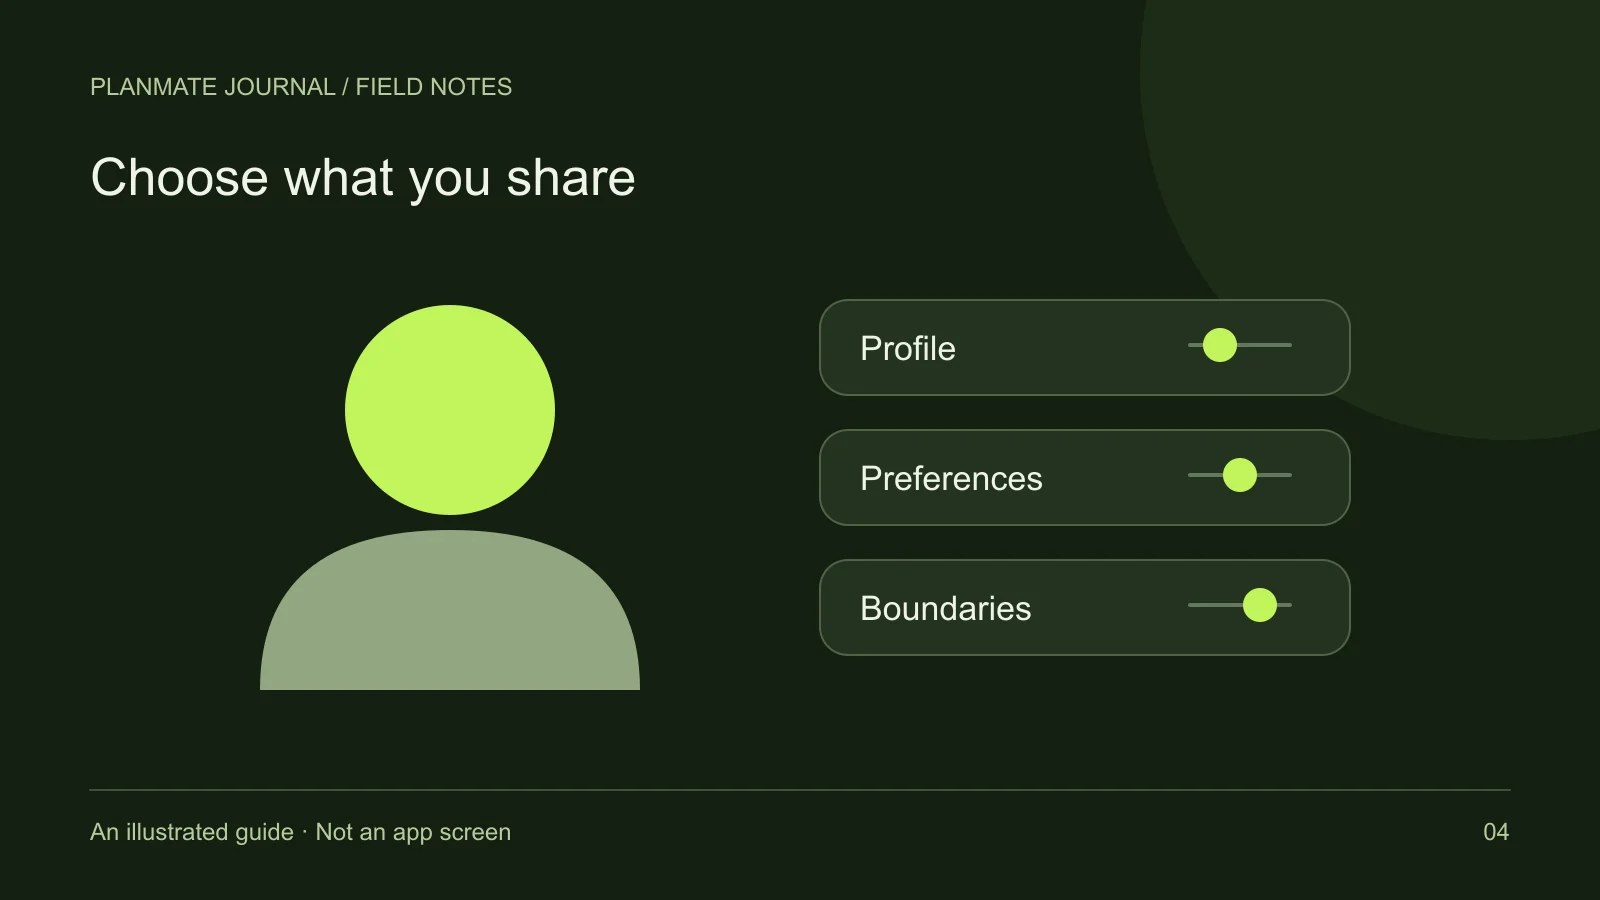
“Learning to sketch; interested in short weekend walks” gives a host something useful to respond to. Your exact address and daily routine do not. A good PlanMate profile makes introductions easier while keeping unnecessary personal information out of view.
Account settings do a different job: they let you manage appearance, notification preferences, verification, blocked users and deletion. Here is how to choose the control that matches what you want to change.
Write a bio someone can respond to
A helpful bio connects an interest with a realistic activity. “I like relaxed weekend walks and would enjoy trying beginner board games” gives a potential host more context than “Always up for anything.” You can mention your preferred pace or experience level without disclosing your workplace, home address, or routine.
Choose interests that reflect what you currently want to do. They are conversation starters, not qualifications you need to defend. If an interest is new, say so. “Learning to sketch” invites a different activity than “Looking for an advanced drawing workshop,” and both are useful descriptions.
Keep expectations modest. A profile can help people identify common ground, but it does not guarantee compatibility or immediate responses. For practical ways to turn an interest into a conversation, see making friends through shared interests.
Review your photo and editable details
Profile editing includes personal details such as name, bio, city, interests, language information, gender, date of birth, and a profile image. Review each field for accuracy and relevance. A city can support discovery without requiring a precise address. Spoken-language information can help people communicate, but it is not the same as changing the app's interface language.
Choose a photo that you are comfortable displaying to other people. Look at the background before uploading: badges, documents, house numbers, and other people can reveal more than intended. Only share an image you have permission to use. A profile picture and a verification selfie serve different purposes.
If you change an image or edit details, check the saved result rather than relying only on the editor preview. Network or upload errors can interrupt an update. If the app reports a problem, follow its message and avoid assuming that a partially completed edit has already replaced the previous information.
Keep verification separate from profile editing
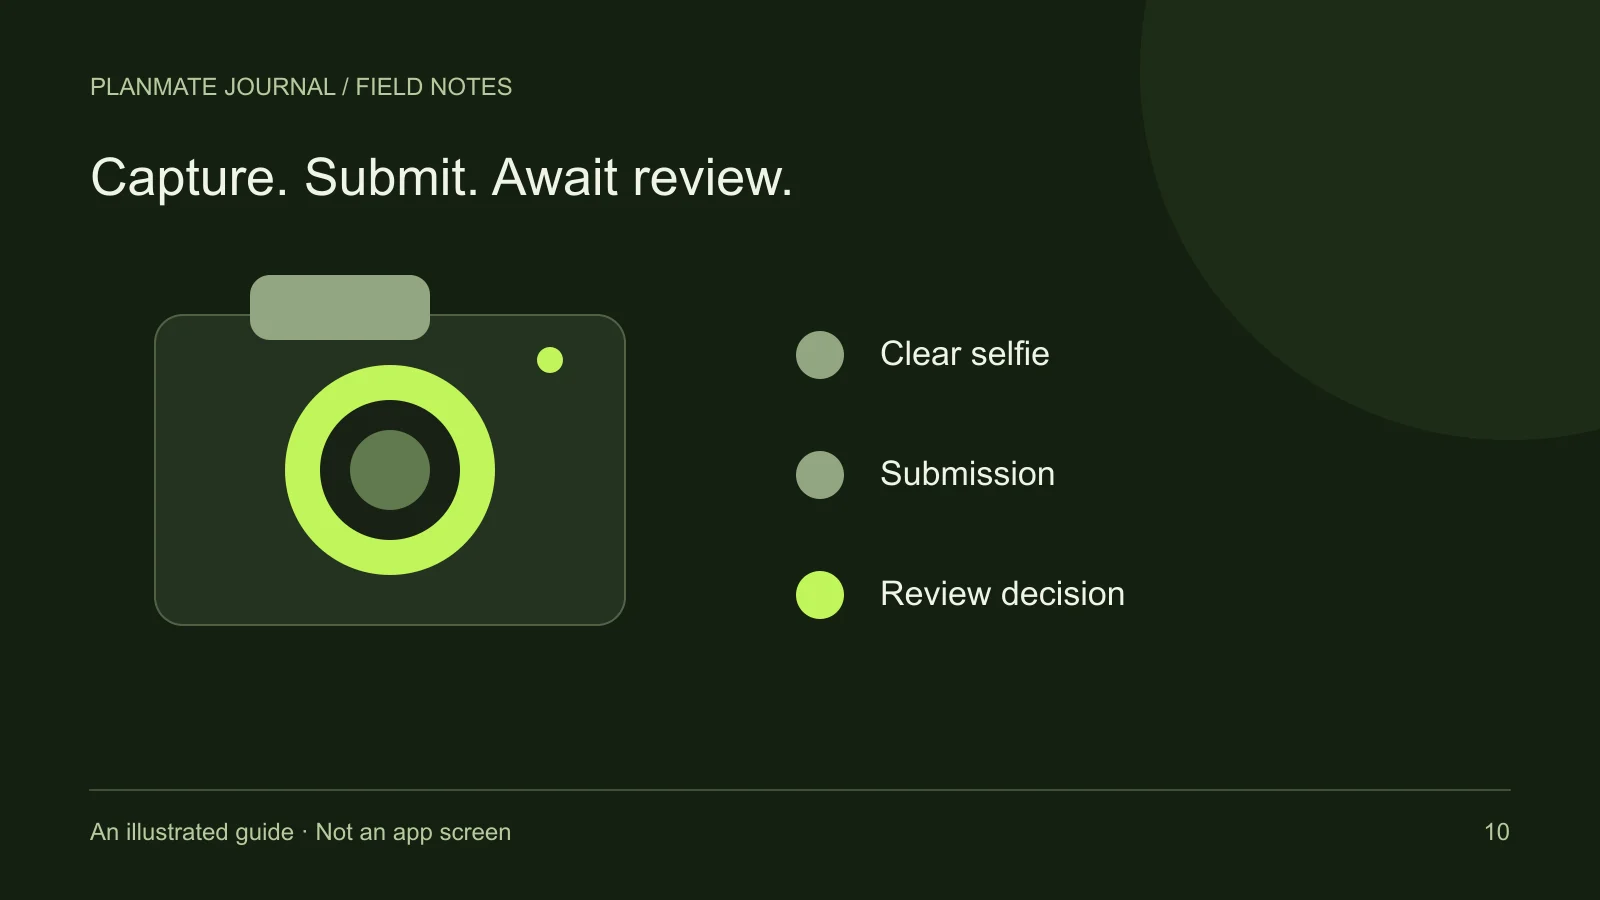
Profile Verification is available from the settings experience. The process includes a selfie submission and review, with statuses such as pending, approved, or rejected. Changing your avatar does not submit a verification request, and sending a selfie does not make approval immediate.
Use the verification screen to see the current state and the actions available to you. A pending request may offer cancellation; a rejected request may provide guidance and a route to resubmit. Do not send extra identity material to other members who claim it will accelerate a review.
The selfie verification walkthrough explains preparation and status interpretation. Verification is optional in onboarding and should not be described as a guarantee of someone else's intentions or a replacement for sensible meetup decisions.
Choose an appearance that is comfortable to read
The app provides light, dark, and system appearance choices. System mode follows the device's preference; an explicit light or dark selection gives you a consistent app appearance. Choose the setting that makes text and controls comfortable in the places where you normally use the app.
An appearance preference is separate from a profile characteristic. Other members do not need to know which theme you selected. If the app looks different after changing device settings, review whether you chose system mode before assuming your preference was lost.
You can also use the accessibility options available on your device. The app includes accessibility labels and reduced-motion considerations in parts of the interface, but that should not be interpreted as a claim that every screen has been certified for every assistive technology. Report a specific barrier through support so it can be understood and investigated.
Adjust notifications without relying on them exclusively
Settings include push and email notification preferences, with category preferences supported by the app's settings system. A preference records what you want to receive. Actual push delivery also depends on your device permissions, operating system, connection, and service availability.
If you need a plan update, open the activity itself instead of assuming silence means nothing changed. This is especially important shortly before departure. Notification settings are useful for reducing interruptions, but they do not remove your responsibility to check a plan you intend to attend.
An email preference should not be taken as a promise that every action generates an email. Keep your current contact information accurate and use the in-app status as the reference for participation or verification. Avoid enabling every category simply because you fear missing a message you can check directly.
Manage boundaries with blocked users and reports
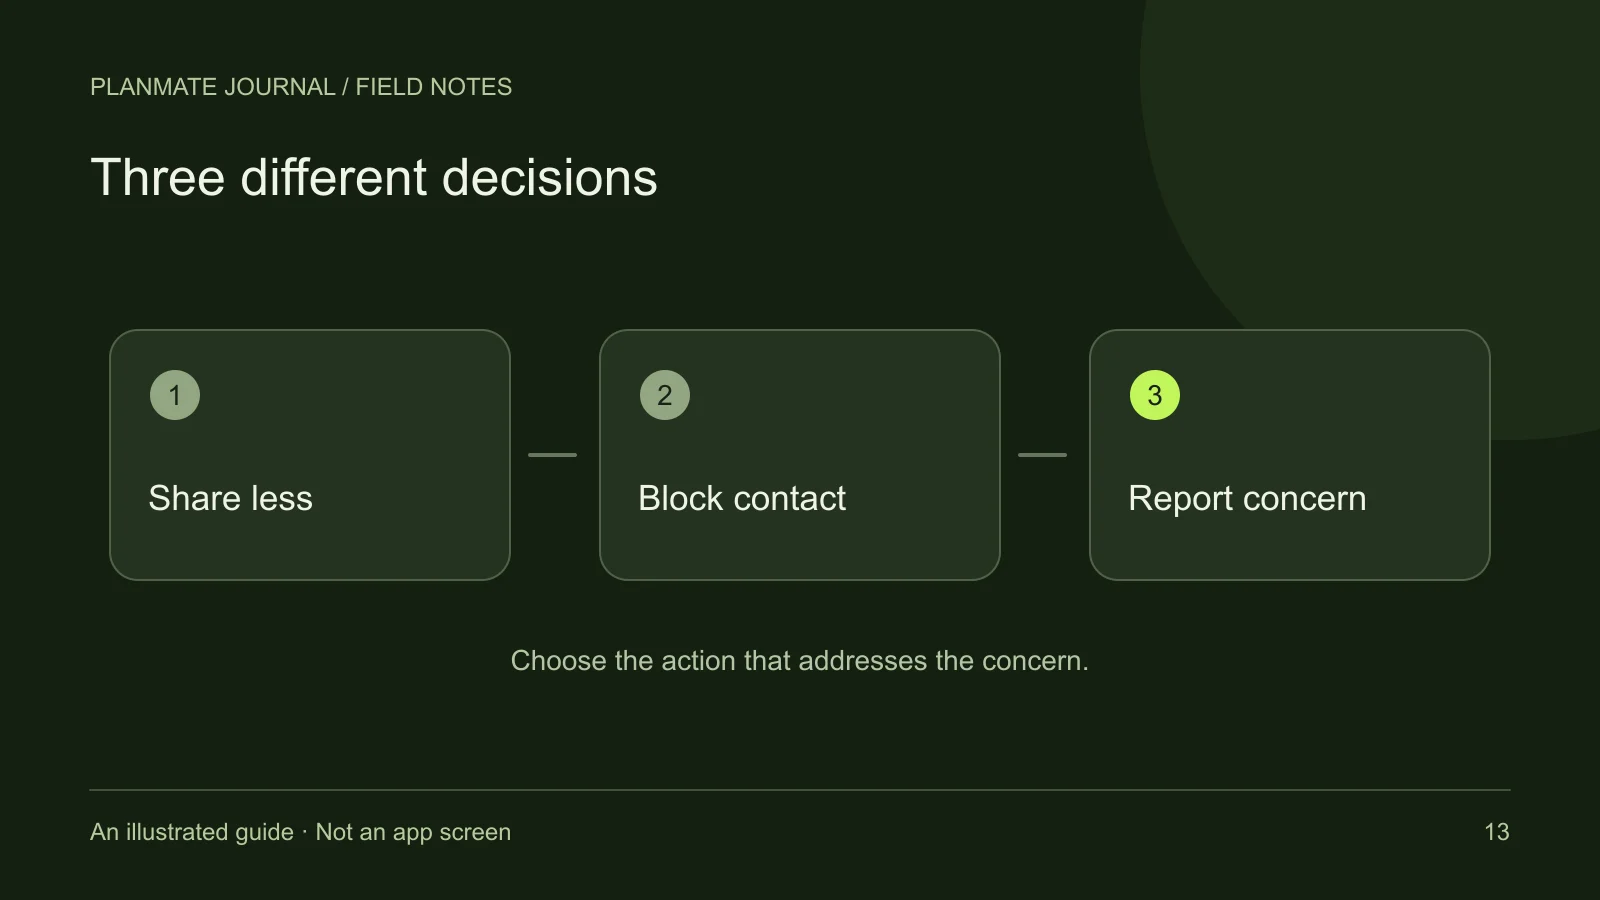
The settings experience includes a Blocked Users area. Blocking and unblocking are distinct from reporting: a block manages an interaction boundary, while a report submits a concern for review. If you need both, make sure you complete both actions rather than assuming one automatically performs the other.
When reporting, describe the behavior and relevant context without adding unrelated private information. Do not post another person's details publicly to seek a response. The privacy, blocking, and reporting guide explains the difference between these tools and their limits.
Understand account deletion before confirming it
Account deletion is available from settings and includes an explicit confirmation process. The app checks eligibility, including circumstances where someone is hosting active upcoming plans with participants. Resolve those responsibilities through the offered controls rather than abandoning a live gathering.
Deletion is different from signing out, removing a photo, or leaving one activity. Read the current privacy policy and account deletion information for the applicable process and data-handling explanation. Do not assume that every record or copy held by another person disappears immediately.
Before making a final choice, check whether your actual goal is fewer notifications, a profile update, an interaction boundary, or leaving the service. Use the smallest appropriate action for that goal. If the app cannot complete it, contact support with a concise description and without including passwords or verification codes.