How to Join a Plan on PlanMate: Step-by-Step Guide
Learn what to check before joining a PlanMate activity, how requests differ from confirmed participation, and how to prepare for arrival.
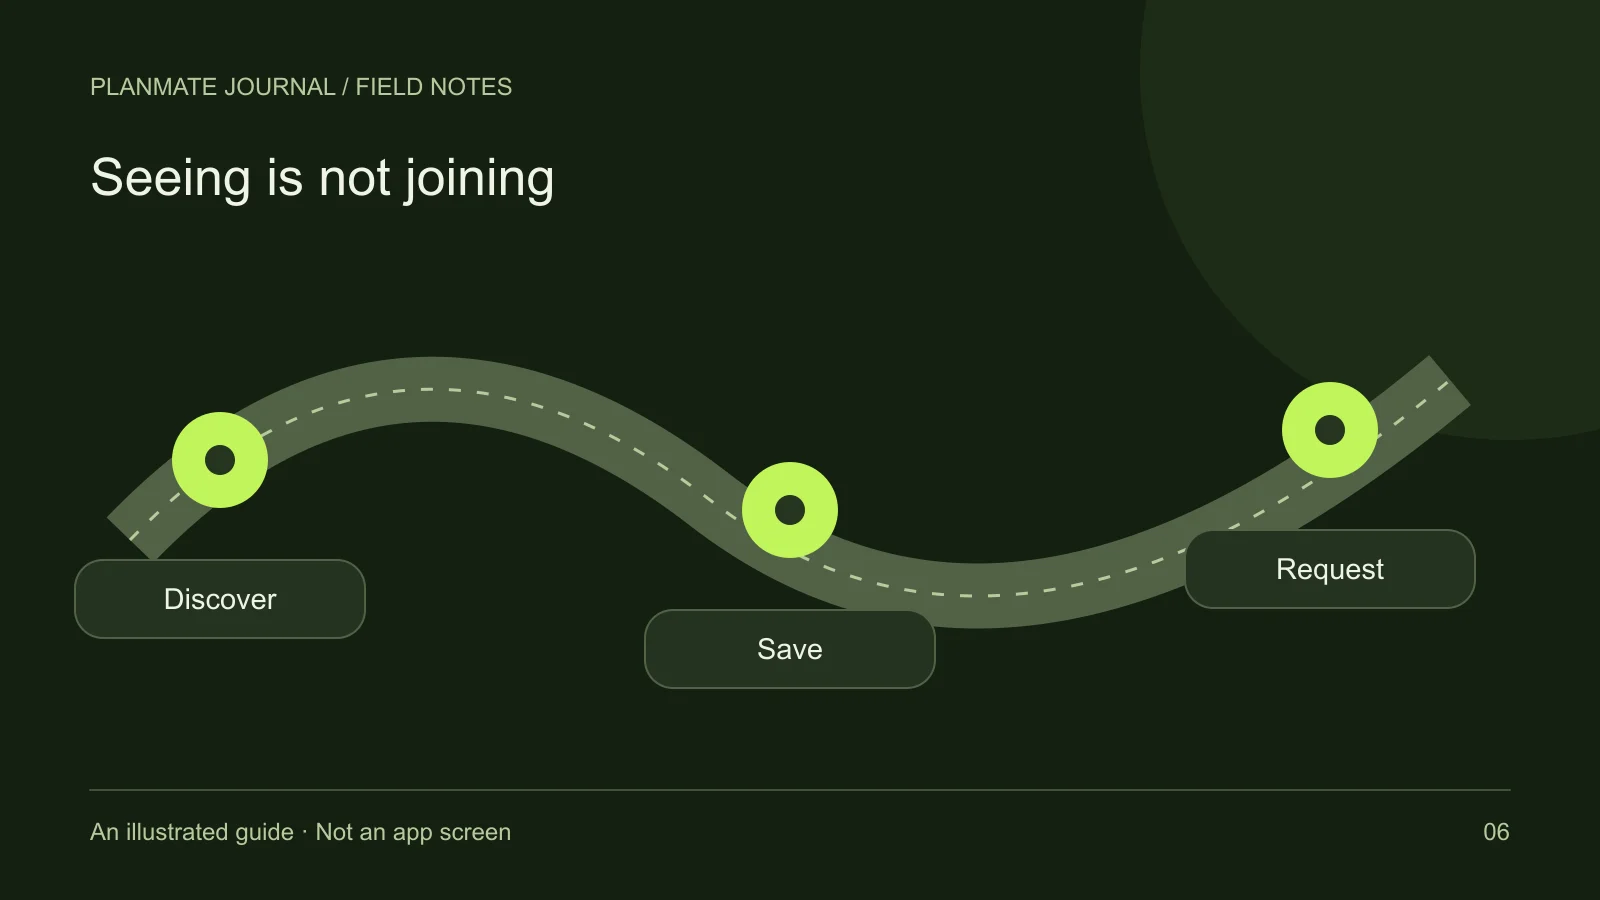
You have found an activity you want to attend. Before arranging travel, check the participation status: a request sent to a host is still a request, and a payment attempt is not a confirmed booking.
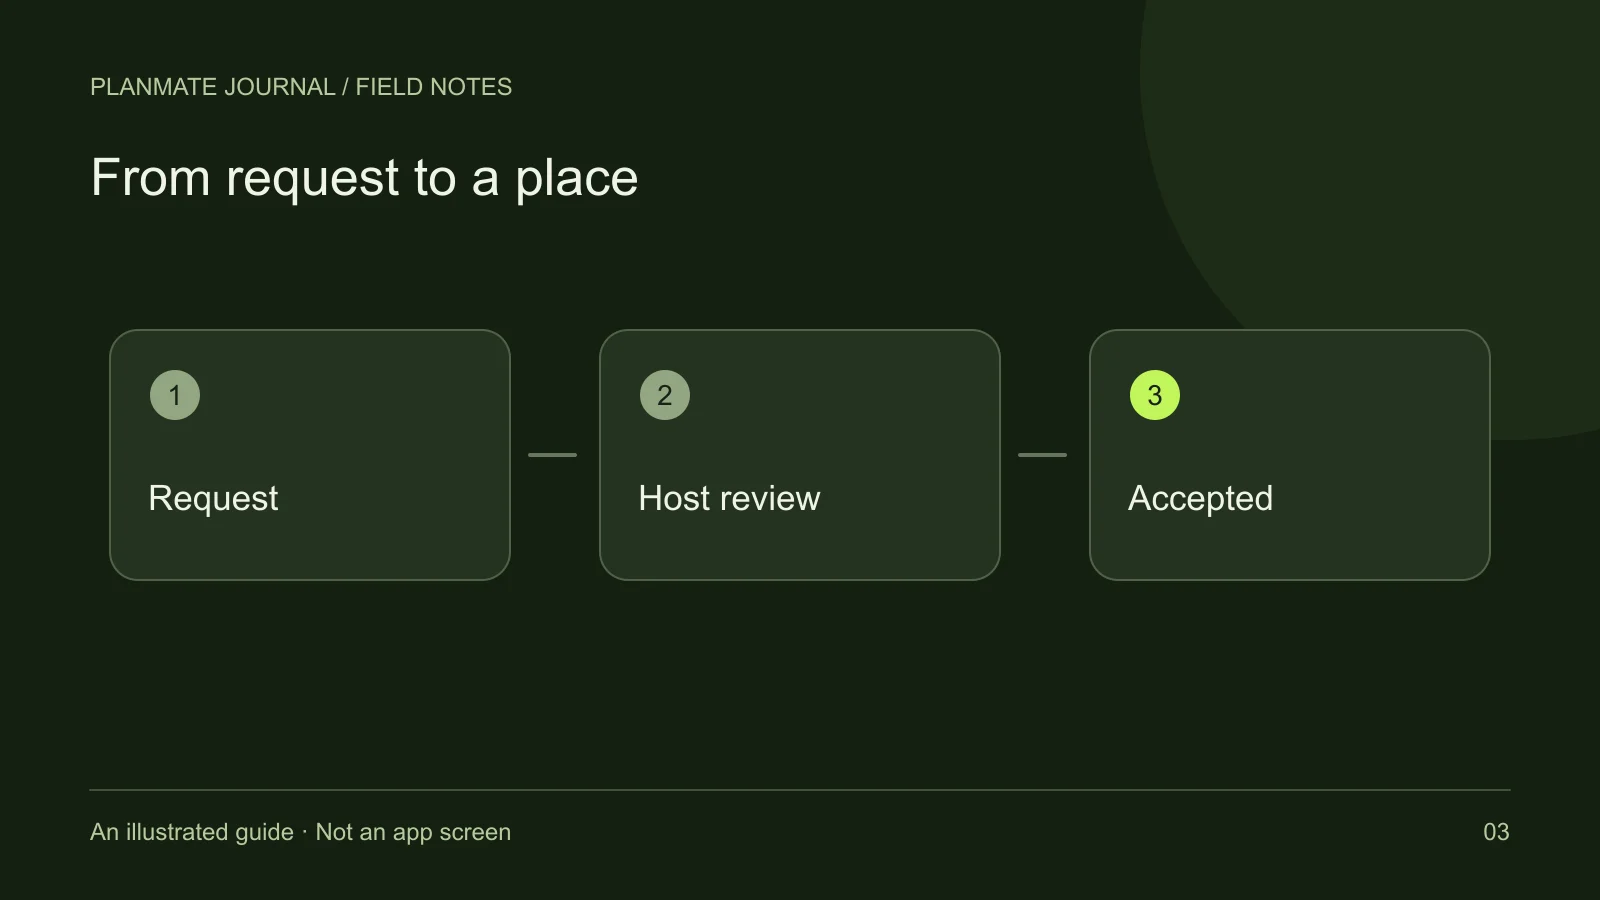
For free PlanMate activities, the host reviews your request. The steps below take you from reading the listing to arriving with a confirmed place. Paid checkout is covered separately because its availability and conditions depend on the flow offered in your app.
Step 1: Read the activity before requesting a place
Open the plan and review its title, description, host, venue, date, time, and duration. Check any equipment or experience expectations. A plan may be appealing in principle but unsuitable for your available time or comfort level. It is better to notice that before asking the host to include you.
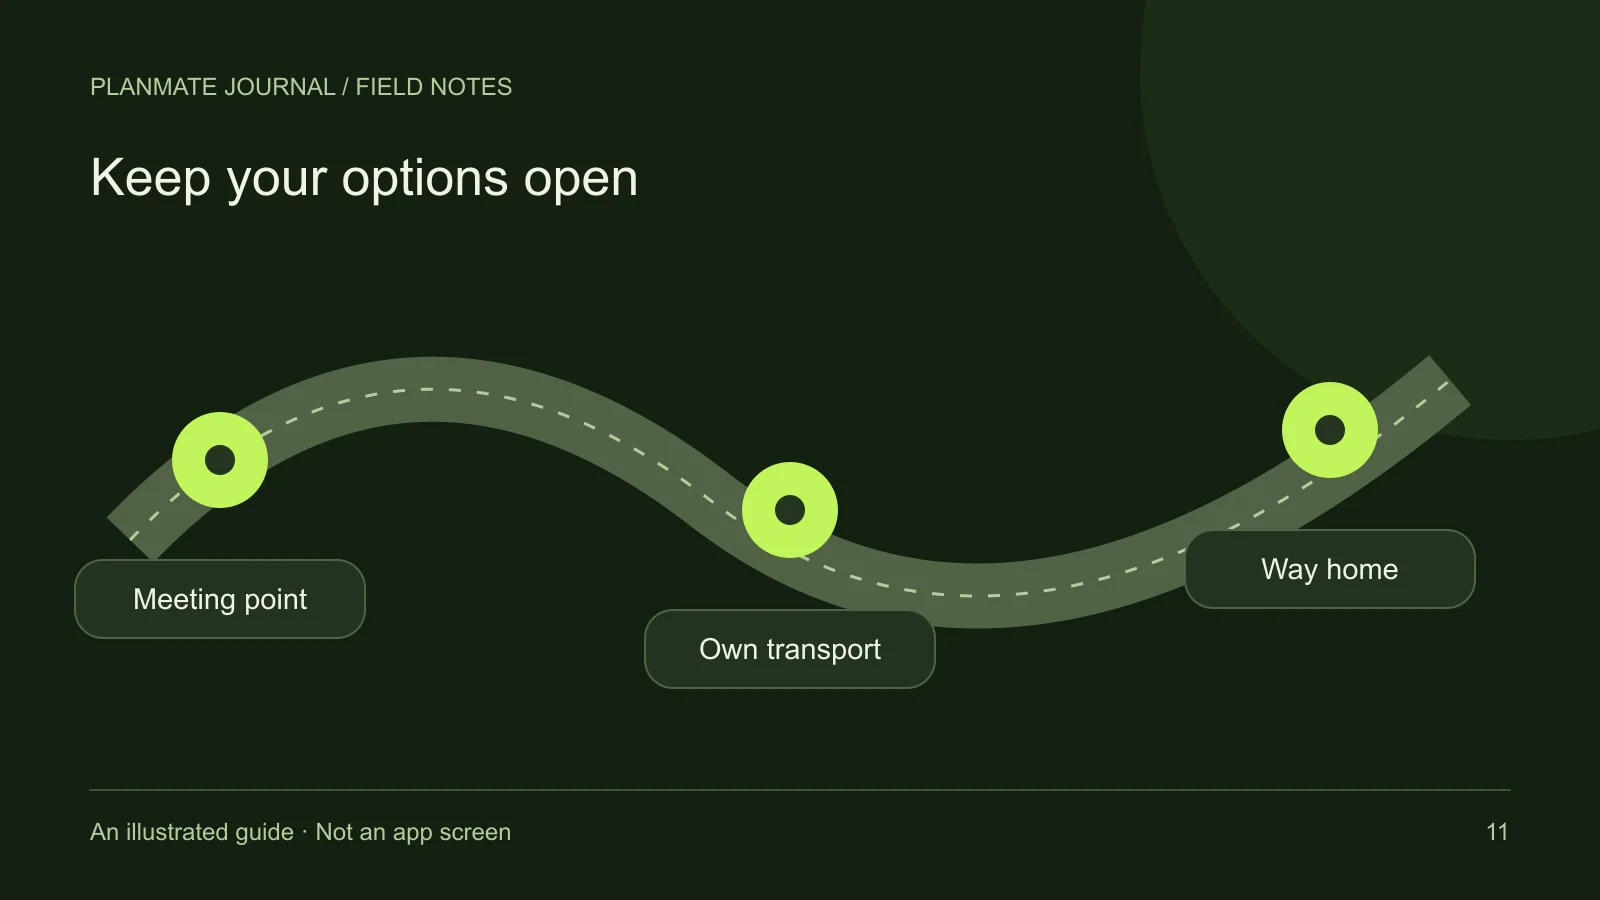
Pay attention to the meeting point rather than only the general neighborhood. If the listing says a large park, look for an entrance or landmark. If the group is moving, check when it leaves the starting point. Do not assume another participant will be able to collect you or provide transport.
Also distinguish the plan's listed price from other costs. A free gathering may still involve personal travel, food, or optional venue purchases. If a cost is unclear, ask for clarification before committing. Avoid making separate arrangements under pressure just because someone says a place will disappear immediately.
Step 2: Make sure you are using your own account
Joining actions require an authenticated account. Use a profile that gives the host enough relevant context to recognize you without adding unnecessary sensitive details. A short bio and current interests can support an introduction. You do not need to publish your address, identification documents, or a detailed daily schedule.
If you are new, complete the onboarding steps presented in your app. PlanMate is intended for adults, and the onboarding flow validates an age of at least 18. Profile verification is a separate process from sign-in, phone confirmation, or submitting a join request. Do not treat one status as a substitute for another.
If a sign-in or account problem prevents joining, resolve that problem through the app or support. Repeatedly creating accounts can make the situation more confusing. Never share a password or one-time code with a person claiming they need it to add you to a group.
Step 3: Send the request and read the response
For a free plan, the joining action sends a request to the host. The app can show a pending state while that request is reviewed. Pending means you have asked to participate; it does not mean you should arrive expecting admission. The host may be considering capacity, preparation, or whether the activity is still going ahead.
When the host accepts, your participation state changes. If the request is declined, respect that decision rather than repeatedly contacting the host. A decline is not a complete judgment about you as a person. A small venue, a changed plan, or a mismatch with the activity can all make an invitation impractical.
If the plan is full, do not interpret saving or sharing it as a way to reserve the next space. This guide does not promise an automatic waiting list or a timed reservation. Look for another suitable activity or return later to review the actual status.
Step 4: Treat paid checkout as a separate sequence
If a paid activity presents checkout, read the displayed price and terms before proceeding. The app distinguishes a payment that is pending from a confirmed booking. Closing a payment window, seeing a bank notification, or receiving a message from a host is not by itself the same as seeing confirmed participation in PlanMate.
If the result is unclear, check your current booking state before trying again. Keep any relevant reference information available for support, but do not post it publicly. Avoid repeated payment attempts made solely because you did not immediately see a change in the activity screen.
Payment availability depends on the offered app flow and service configuration. This article is not an announcement that a particular provider, payment method, or payout service is live. Review the current refund and cancellation policy for applicable terms rather than assuming that every cancellation has the same outcome.
Step 5: Prepare once participation is confirmed
Confirmed participants can use the activity experience to coordinate and access their pass. Read the latest plan details and relevant group messages. A useful preparation checklist includes the meeting point, start time, expected finish, required equipment, transport, and a way to leave independently if you need to.
Keep communication focused. Introduce yourself briefly if appropriate, then ask only what the description has not answered. If the host updates the location or time, check whether the new arrangement still works for you. Confirmation is not a requirement to ignore a material change or an uncomfortable situation.
For a first meeting, choose your own boundaries around personal information and photography. Tell a trusted person where you are going if that supports your preparation. Our social-app meeting safety guide offers a practical checklist without pretending that any app can eliminate risk.
Step 6: Arrive, check in, and communicate changes
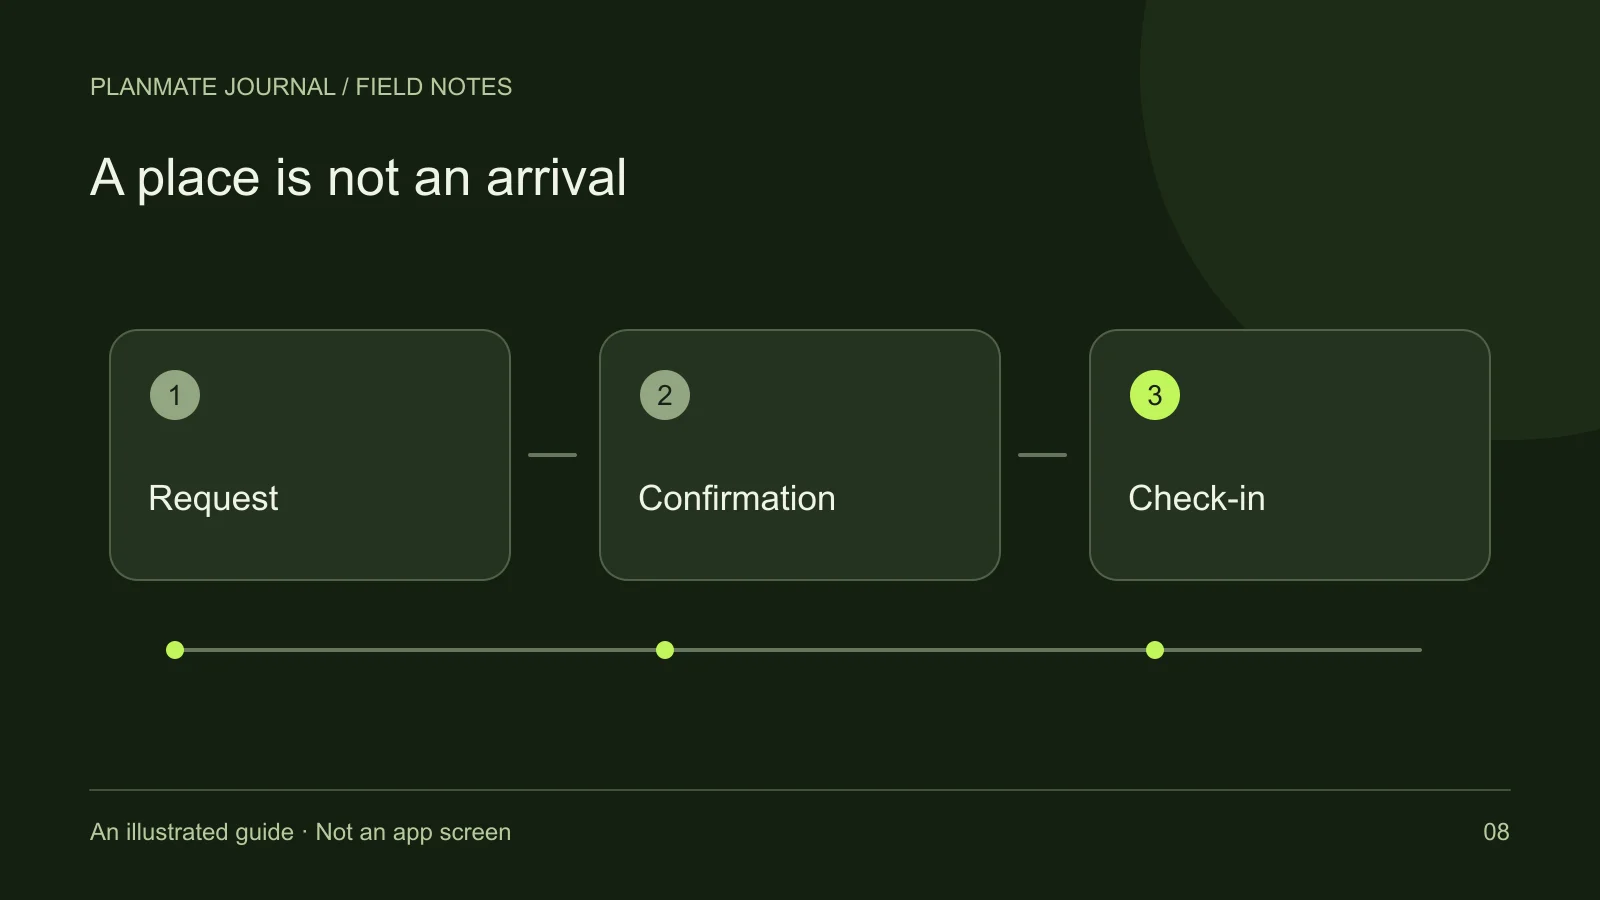
PlanMate includes a pass and host scanning workflow for attendance. Open your own pass when required and follow the host's check-in instructions. A pass is associated with participation; it is not a general invitation for extra friends. Ask before bringing someone who has not joined.
If you cannot attend, use the relevant leave or cancellation controls and communicate promptly. For a paid booking, do not assume that leaving a conversation or changing attendance automatically completes a refund. Check the applicable booking and refund status separately.
After the activity, a brief thank-you is enough. You can decide whether you would like to connect again without promising future availability. For a clearer explanation of the status changes along the way, read how booking and attendance work.